OpenClaw Budget Limits: The Complete 2026 Guide to Spending Caps
OpenClaw spending control has three layers: provider-level monthly caps (Anthropic/OpenAI dashboards), runtime token limits (openclaw.json config), and proxy-level enforcement (real-time daily caps + pattern detection). Most developers only use the first two and wonder why they still get bill shock. You need all three. This guide shows you exactly how to set up each layer, what each one catches, and where the gaps are.
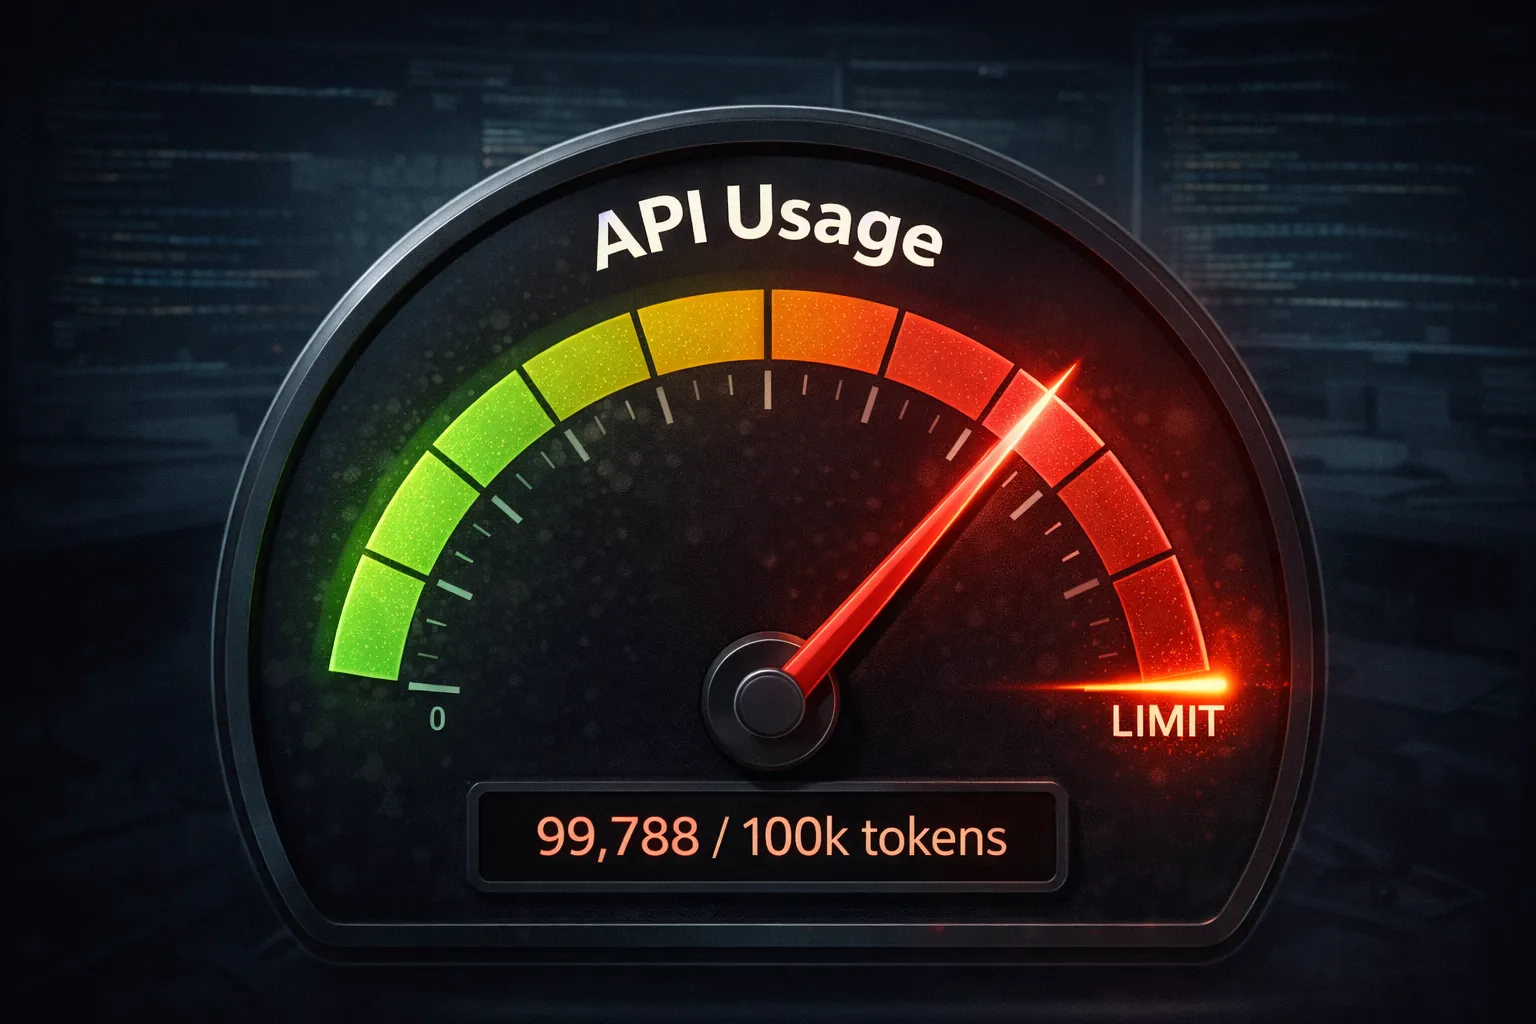
If you are running OpenClaw agents in 2026, you are probably spending somewhere between $50 and $500 per month on LLM API calls. That range is enormous, and the difference usually comes down to one thing: whether you have proper budget controls in place.
The problem is not that budget controls do not exist. The problem is that they exist at three different levels, each with different strengths and blind spots. Most developers set up one layer, assume they are covered, and then get surprised by a $100+ bill from an overnight session.
This guide covers all three layers in detail. By the end, you will know exactly what each one does, what it misses, and how to configure them to work together.
What are the three layers of OpenClaw budget protection?
Think of budget protection as a layered defense. No single layer catches everything, but together they cover virtually every failure mode.
- Layer 1 Provider-level caps — Monthly spending limits set in your Anthropic, OpenAI, or Google Cloud dashboard
- Layer 2 Runtime token limits — Per-task constraints configured in
openclaw.json(maxTokens, context window ceilings) - Layer 3 Proxy-level enforcement — Real-time daily/monthly caps with pattern detection, sitting between OpenClaw and the API
Let me walk through each one.
How do provider-level caps work (Layer 1)?
Layer 1
Every major LLM provider lets you set a spending limit on your account. This is the most basic form of budget control and the one most developers set up first.
Anthropic (Claude models)
Anthropic's usage limits are configured in the Anthropic Console under Settings → Limits. You can set a monthly hard cap in dollars. When reached, all API calls return a 429 error until the next billing cycle.
Step-by-step: Set Anthropic monthly cap
- Log in to
console.anthropic.com - Navigate to Settings → Limits
- Set "Monthly spending limit" to your desired amount (e.g., $100)
- Save changes — takes effect immediately
Current pricing reference (March 2026): Claude Sonnet 4 runs $3/M input tokens and $15/M output tokens. Claude Haiku 3.5 runs $0.80/M input and $4/M output. Claude Opus 4 runs $5/M input and $25/M output.
OpenAI (GPT and o-series models)
OpenAI lets you set monthly budget limits in the API Settings dashboard. You can set both a hard cap (requests fail after this) and a soft cap (email notification only).
Step-by-step: Set OpenAI monthly cap
- Log in to
platform.openai.com - Navigate to Settings → Organization → Limits
- Set "Monthly budget" hard limit (e.g., $120)
- Optionally set a soft limit for email alerts (e.g., $80)
Current pricing reference: GPT-4o runs $2.50/M input and $10/M output. GPT-4o-mini runs $0.15/M input and $0.60/M output. o3-mini runs $1.10/M input and $4.40/M output.
Google (Gemini models)
Google Cloud uses billing budgets that can be configured in the Cloud Console. These are more complex than Anthropic or OpenAI because they integrate with Google Cloud's broader billing infrastructure.
Step-by-step: Set Google Cloud budget
- Go to Cloud Console → Billing → Budgets & alerts
- Create a new budget scoped to the Vertex AI / Generative Language API
- Set threshold alerts at 50%, 80%, and 100%
- Optionally connect a Cloud Function to disable the API key at 100%
Important: Google Cloud budgets are alerts by default, not hard caps. You need additional automation to actually stop spending when the budget is reached. This is a common gotcha.
What does Layer 1 miss?
Provider caps have three significant blind spots:
- Monthly granularity only. A $100 monthly cap allows a $100 single-day spike. It provides zero protection against overnight runaway sessions.
- No pattern detection. Provider caps count total dollars. They cannot tell the difference between 100 productive requests and 100 identical loop-failure requests. Waste is invisible.
- Per-provider isolation. If your OpenClaw config uses both Claude and GPT-4o (which is common for cost optimization), you need separate caps on each dashboard. There is no unified budget view. An agent that model-hops can exceed your intended total budget while staying under each individual provider's limit.
How do runtime token limits work (Layer 2)?
Layer 2
OpenClaw supports per-task token limits in its configuration file. These control how many tokens a single request or session can use.
Key settings in openclaw.json
{
  "models": {
    "maxTokens": 4096,
    "contextWindow": 128000,
    "providers": [{
      "name": "anthropic",
      "apiKey": "sk-ant-...",
      "models": ["claude-sonnet-4-6"]
    }]
  }
}
maxTokens limits the output length per API call. Setting this to 4096 means the model will generate at most 4,096 output tokens per request. At Claude Sonnet pricing, that caps individual response cost at roughly $0.06.
contextWindow limits how much conversation history is sent per request. A lower context window means less input token cost per call, but also less context for the model to work with. The tradeoff here is quality vs. cost.
Step-by-step: Configure runtime limits
- Open
~/.openclaw/openclaw.jsonin your editor - Set
maxTokensto 4096 (good default for most coding tasks) - Consider setting
contextWindowto 64000 instead of 128000 if you are cost-sensitive — this roughly halves input token costs per request at the expense of some context - Save and restart OpenClaw
What does Layer 2 miss?
Runtime limits control the size of individual requests, but they have critical gaps:
- No total spending limit.
maxTokens: 4096caps each request at ~$0.06, but if the agent makes 2,000 requests overnight, that is still $120. Per-request limits say nothing about cumulative spending. - No time-based control. There is no way to say "stop after $5 today" in openclaw.json. The config is per-request, not per-day or per-session.
- No loop awareness. If the agent sends the same request 50 times, each one is individually within the token limit. Layer 2 sees 50 normal requests, not a pathological loop.
- No heartbeat detection. Heartbeat calls are small and well within any reasonable token limit. They pass through Layer 2 without friction.
How does proxy-level enforcement work (Layer 3)?
Layer 3
This is the layer most developers are missing. A proxy-level cap sits between OpenClaw and the LLM API, intercepting every request in real time. It tracks cumulative spending, detects patterns, and enforces hard limits — not per-request, not per-month, but per-day.
ClawCap is a lightweight local proxy. Every API call from OpenClaw passes through it before reaching Anthropic, OpenAI, or any other provider. The proxy adds negligible overhead per request — a few milliseconds compared to the 500-3000ms of typical LLM response times.
What Layer 3 catches that Layers 1 and 2 miss
Daily spending caps. You set a dollar amount per day (e.g., $5). When cumulative spending for the current day reaches that limit, all requests return 429. This is the single most important control for preventing overnight bill shock.
Loop detection. The proxy analyzes request patterns in a sliding window. If it detects a cluster of substantially similar requests within a short time period, it flags a loop and blocks further repetitions. This catches the "agent stuck on the same error" pattern within minutes instead of hours.
Heartbeat detection. Periodic low-value maintenance requests at regular intervals are identified as heartbeat calls. The proxy can block or reroute these to cheaper models, preventing the slow bleed that accounts for 40-60% of overnight waste.
Cross-provider tracking. Because the proxy sits in front of all providers, it tracks spending in a single database. An agent using Claude for complex tasks and GPT-4o-mini for simple tasks has one unified budget, not two separate ones.
Step-by-step: Set up ClawCap proxy
Sign up and configure (2 minutes)
- Pick a plan at clawcap.co and checkout via Stripe
- Copy your unique proxy URL from the setup page
- Change
baseUrlin your OpenClaw config to your proxy URL
Nothing to install — ClawCap is a hosted service. Your API keys stay in your config and pass through in request headers (never stored by ClawCap).
Each plan includes:
- Daily spending cap — Free tier: $5/day fixed. Paid tiers: custom caps
- Monthly spending cap — provides a secondary ceiling
- Loop + heartbeat detection — automatic, no configuration needed
- Telegram alerts — optional, available on Solo tier and above
Update your OpenClaw configuration to route through the proxy:
// ~/.openclaw/openclaw.json
{
  "models": {
    "providers": [{
      "name": "anthropic",
      "baseUrl": "https://clawcap.co/u/YOUR_PROXY_TOKEN",
      "apiKey": "sk-ant-YOUR_KEY_HERE"
    }]
  }
}
That is the complete setup. Every API call from OpenClaw now passes through ClawCap's enforcement layer.
How do the three layers compare side by side?
This table shows what each layer catches and what it misses. The key insight is that no single layer covers everything.
| Capability | Layer 1: Provider | Layer 2: Runtime | Layer 3: Proxy |
|---|---|---|---|
| Monthly spending cap | Yes | No | Yes |
| Daily spending cap | No | No | Yes |
| Per-request token limit | No | Yes | Partial |
| Loop detection | No | No | Yes |
| Heartbeat detection | No | No | Yes |
| Cross-provider tracking | No | No | Yes |
| Real-time alerts | Email only | No | Telegram/push |
| Remote kill switch | No | No | Yes |
| Context window control | No | Yes | No |
| Zero configuration | Dashboard UI | JSON config | 2-min setup |
| Works when proxy is down | Yes | Yes | No |
Notice that "Works when proxy is down" is a No for Layer 3. This is why you need Layer 1 as a backstop. If ClawCap crashes or your machine reboots and the proxy does not restart, provider-level caps are your safety net. Always have both.
What does a real-world three-layer setup look like?
Here is a concrete example for a developer spending roughly $150/month on OpenClaw with Claude Sonnet as the primary model and GPT-4o-mini as a secondary model for simple tasks.
Layer 1: Provider caps
- Anthropic monthly limit: $120 (primary model budget)
- OpenAI monthly limit: $40 (secondary model budget)
- Total monthly ceiling: $160 (10% buffer above expected spend)
Layer 2: Runtime limits
maxTokens: 4096 (caps per-response cost at ~$0.06 for Sonnet)contextWindow: 64000 (halves input cost vs. 128K default)
Layer 3: Proxy enforcement
- Daily cap: $8.00 ($8 x 20 working days = $160 monthly capacity)
- Monthly cap: $150 (hard monthly ceiling, slightly below provider sum)
- Loop detection: enabled, catches repeated request patterns automatically
- Heartbeat detection: enabled, blocks periodic idle polling
- Telegram alerts at 80% ($6.40) and 95% ($7.60) of daily cap
With this configuration, the worst-case daily loss is $8. The worst-case monthly loss is $150. Loop patterns are caught in under 3 minutes. And you get a phone notification well before hitting any limit.
What happens when each layer triggers?
Understanding the failure modes helps you configure the layers to complement each other.
Layer 1 triggers (provider monthly cap): All requests to that provider return 429. OpenClaw surfaces the error and stops. Other providers still work. Recovery: wait for the next billing cycle, or increase the limit in the provider dashboard.
Layer 2 triggers (token limit): The model's response is truncated at the maxTokens limit. This is not an error — the response just ends. The agent may retry with a different approach, or it may not realize the response was truncated. This layer degrades gracefully but can cause subtle bugs.
Layer 3 triggers (proxy daily cap): ClawCap returns 429 with a clear error body: {"error": {"type": "cap_reached", "message": "Daily cap of $8.00 reached ($8.02 spent today)"}}. OpenClaw sees the error and stops. Recovery: wait until tomorrow (cap resets at midnight), or manually resume with clawcap resume or via Telegram.
Layer 3 triggers (loop detected): ClawCap returns 429 with a loop_detected error type and a message describing the pattern. The agent is paused, not killed — you can review what happened and resume if the loop was a false positive.
How much does each layer save in practice?
Based on real usage data from developers running OpenClaw with various configurations:
| Configuration | Average monthly spend | Worst single-day spike | Waste % |
|---|---|---|---|
| No caps at all | $320 | $103 | ~45% |
| Layer 1 only (provider cap) | $200 | $87 | ~35% |
| Layers 1 + 2 (provider + runtime) | $175 | $62 | ~28% |
| All three layers | $130 | $8 | ~5% |
The biggest jump comes from adding Layer 3. Going from Layers 1+2 to all three layers reduces the worst single-day spike from $62 to $8 — a 87% reduction. It also cuts waste from 28% to 5%, because loops and heartbeats are caught in real time instead of being billed at full price.
What about multi-provider setups?
Many developers configure OpenClaw with multiple providers for cost optimization: Claude Sonnet for complex reasoning, GPT-4o-mini for simple tasks, and maybe DeepSeek for bulk processing. This is smart, but it creates a budget visibility problem.
With only Layer 1 (provider caps), each provider tracks spending independently. You might set $100 on Anthropic and $50 on OpenAI, intending to spend $150 total. But if the agent model-hops aggressively, you could hit $90 on Anthropic and $45 on OpenAI in the same day — $135 total, under each provider's limit but way over your daily budget.
Layer 3 solves this with unified tracking. ClawCap calculates the dollar cost of every request regardless of which provider handles it, using its built-in pricing table covering 60+ models. Your $8 daily cap is $8 total across all providers.
The pricing table covers Anthropic (Claude Opus, Sonnet, Haiku), OpenAI (GPT-4o, GPT-4o-mini, o3-mini, o3), Google (Gemini 2.5 Pro, Flash), xAI (Grok), DeepSeek, Mistral, Groq, MiniMax, and Moonshot/Kimi. Token costs are calculated using each model's specific per-million-token rates.
What is the recommended budget for different use cases?
These are guidelines based on typical usage patterns. Adjust based on your actual workload.
| Use Case | Daily Cap | Monthly Cap | Recommended Model |
|---|---|---|---|
| Hobby / learning | $2-3 | $30 | Claude Haiku / GPT-4o-mini |
| Individual developer | $5-10 | $100-150 | Claude Sonnet / GPT-4o |
| Power user / full-time | $15-25 | $300 | Claude Sonnet + Haiku |
| Team (5 devs) | $50-80 | $800 | Mixed (per-agent caps) |
For most individual developers, a $5-10 daily cap with Claude Sonnet provides 1-3 hours of active agent work per day. That is enough for most workflows. If you consistently hit the cap before finishing your tasks, bump it up in $5 increments.
Why do you need all three layers working together?
Each layer has a specific job:
- Layer 1 is your monthly backstop. It is the absolute ceiling that protects you even if everything else fails. It is coarse but reliable.
- Layer 2 optimizes per-request efficiency. It keeps individual calls lean and prevents the context window from ballooning. It is precise but narrow.
- Layer 3 is your daily operations layer. It enforces real-time limits, catches waste patterns, and gives you visibility and control. It is comprehensive but depends on the proxy being up.
Remove any one layer and you have a gap. Without Layer 1, a proxy crash means unlimited spending. Without Layer 2, each request is more expensive than it needs to be, eating through your daily cap faster. Without Layer 3, you have no daily limits, no loop detection, and no way to stop a runaway session from your phone at 3 AM.
The three layers together give you defense in depth. Provider caps are your circuit breaker. Runtime limits are your per-request optimizer. Proxy enforcement is your real-time guardian.
Set up all three and your OpenClaw spending becomes predictable, bounded, and visible. That is the goal.
ClawCap adds the missing layer — real-time, proxy-level budget enforcement.
Daily caps, loop detection, heartbeat blocking, and Telegram alerts. Free tier includes $5/day cap enforcement. Setup takes 2 minutes.
Get Started with ClawCap